- HTML 画布教程
- HTML 画布 - 主页
- HTML 画布 - 简介
- 环境设置
- HTML Canvas - 第一个应用程序
- HTML Canvas - 绘制 2D 形状
- HTML Canvas - 路径元素
- 使用路径元素的 2D 形状
- HTML 画布 - 颜色
- HTML Canvas - 添加样式
- HTML Canvas - 添加文本
- HTML Canvas - 添加图像
- HTML Canvas - 画布时钟
- HTML Canvas - 转换
- 堆肥和修剪
- HTML Canvas - 基本动画
- 高级动画
- HTML Canvas 有用的资源
- HTML Canvas - 快速指南
- HTML Canvas - 有用的资源
- HTML Canvas - 讨论
HTML Canvas - 基本动画
canvas 元素完全使用 JavaScript 来绘制形状并为其添加样式。相同的 JavaScript 可用于在 Canvas 元素上制作非常有吸引力的动画。由于动画是动态的,因此 Canvas 元素内的对象需要一些时间来渲染。
控制动画
画布元素形状通常使用方法或自定义函数构建。因此,除非它们在画布元素上正确呈现,否则我们无法向它们添加动画。由于动画改变了画布的性质,因此计划更新必须是强制操作。有一些动画方法用于控制 Canvas 元素上的动画功能。每种方法的描述如下
| 序列号 | 方法及说明 |
|---|---|
| 1 | setInterval(回调函数, 时间) 此方法用于在每个时间范围内重复给定的任务。它采用一个包含所需任务和时间(以毫秒为单位)的函数作为参数。 |
| 2 | setTimeout(回调函数, 时间) 当某项任务需要在一段时间内完成一次时,可以使用此方法。它以可执行函数和以毫秒为单位的时间作为参数。 |
| 3 | 请求动画帧(回调函数) 此方法更新浏览器以在下一个动画或更新之前执行动画请求。 |
这些动画方法一般用在Canvas元素中,用于开发2D游戏和交互UI设计。
添加基本动画的步骤
要将动画添加到 Canvas 元素,需要遵循下面列出的一些步骤
步骤 1 - 清除完整的 Canvas 元素 - 要将任何动画添加到 Canvas 元素,内部不得有任何绘图未填充完整的画布空间。这可以通过调用clearRect()方法来完成。
步骤 2 - 保存默认画布状态- 由于我们应用各种样式并添加不同的设置(例如变换、切片等),因此我们必须保存主画布状态,以确保我们可以在需要时回滚到主状态。Save() 函数用于实现此目的。
步骤 3 - 使用添加的动画绘制形状- 我们使用不同的可用动画渲染绘制的形状。这是将动画应用到 Canvas 元素的第一步。
步骤 4 - 需要时恢复 Canvas 元素- 由于我们已经使用 save() 方法保存了画布状态,因此我们可以在使用 Restore() 函数绘制新帧之前恢复它们。
实施例1
以下程序演示了clearRect()方法的工作原理以及如何使用它来执行动画。
<!DOCTYPE html>
<html lang="en">
   <head>
      <title>Animations</title>
      <style>
         #button {
            position: absolute;
            top: 350px;
            left: 150px;
         }
      </style>
   </head>
   <body onload="animation();">
      <canvas id="canvas" width="600" height="400" style="border: 1px solid black;"></canvas>
      <script>
         function animation() {
            var canvas = document.getElementById("canvas");
            var context = canvas.getContext("2d");
            context.fillStyle = 'purple';
            context.fillRect(75, 75, 300, 150);
            context.font = '25px Verdana';
            context.fillText('To remove text and rect, press the button', 10, 300);
            document.getElementById('clear').addEventListener('click', function() {
               context.clearRect(0, 0, canvas.width, canvas.height);
            }, false);
         }
      </script>
      <div id="button">
         <input type="button" id="clear" value="Clear the whole Canvas element">
      </div>
   </body>
</html>
输出
上述程序返回的输出如下
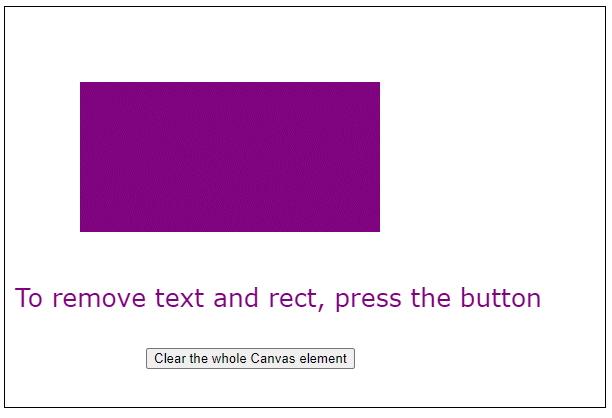
如果按下按钮,画布将变为如下所示的图像
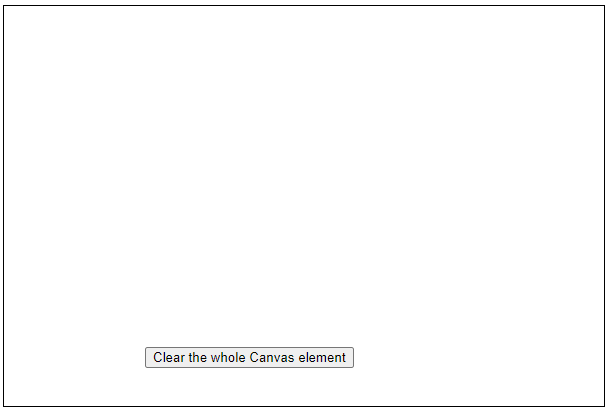
要再次查看文本和形状,请刷新页面。
实施例2
以下代码显示了如何对 Canvas 元素执行简单的动画。
<!DOCTYPE html>
<html lang="en">
   <head>
      <title>Animations</title>
      <style>
         body {
            margin: 10px;
            padding: 10px;
         }
      </style>
   </head>
   <body onload="animate();">
      <canvas id="canvas" width="600" height="200" style="border: 1px solid black;"></canvas>
      <script>
         function animate() {
            window.requestAnimFrame = (function(callback) {
               return window.requestAnimationFrame || window.webkitRequestAnimationFrame || window.mozRequestAnimationFrame || window.oRequestAnimationFrame || window.msRequestAnimationFrame || function(callback) {
                  window.setTimeout(callback, 1000);
               };
            })();

            function drawShapes(square, context) {
               context.beginPath();
               context.rect(square.x, square.y, square.width, square.height);
               context.fillStyle = 'green';
               context.fill();
               context.lineWidth = square.borderWidth;
               context.strokeStyle = 'black';
               context.stroke();
               context.closePath();
               context.font = '50px Verdana';
               context.fillStyle = 'white';
               context.fillText('Hi', square.x + 15, square.height + 40);
            }

            function animation(square, canvas, context, startTime) {
               // updating the time and speed of movement parameters
               var time = (new Date()).getTime() - startTime;
               var speed = 100;
               var X = speed * time / 1000;
               if (X < canvas.width - square.width - square.borderWidth / 2) {
                  square.x = X;
               }
               // clearing the Canvas element space
               context.clearRect(0, 0, canvas.width, canvas.height);
               drawShapes(square, context);
               // requesting new frame for animation
               requestAnimFrame(function() {
                  animation(square, canvas, context, startTime);
               });
            }
            var canvas = document.getElementById('canvas');
            var context = canvas.getContext('2d');
            var square = {
               x: 0,
               y: 75,
               width: 100,
               height: 100,
               borderWidth: 3
            };
            drawShapes(square, context);
            // buffer time before starting animation
            setTimeout(function() {
               var startTime = (new Date()).getTime();
               animation(square, canvas, context, startTime);
            }, 1000);
         }
      </script>
   </body>
</html>
输出
上述代码返回的动画输出是
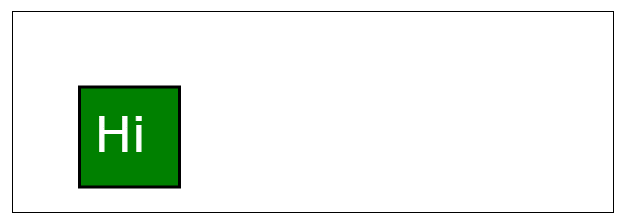
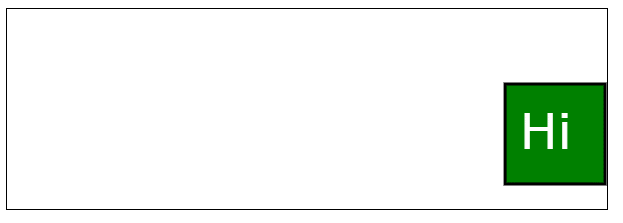
动画结束后,方块的位置发生了如下变化
实施例3
以下代码演示了 Canvas 元素框架中TutorialsPoint 徽标的简单循环。
<!DOCTYPE html>
<html lang="en">
   <head>
      <title>Animations</title>
      <style>
         body {
            margin: 10px;
            padding: 10px;
         }
      </style>
   </head>
   <body onload="animate()">
      <canvas id="context" width="350" height="120" style="border: 1px solid black;background-color: brown;"></canvas>
      <script>
         function animate() {
            var image = new Image();
            image.src = 'https://www.tutorialspoint.com/themes/home/tp-diamond-logo-white.png';
            var X = 600;
            var Y = 150;
            var velocity = 30;
            var scale = 1.05;
            var y = -4.5;
            var disx = 0.75;
            var imgwidth;
            var imgheight;
            var x = 0;
            var RemoveX;
            var RemoveY;
            var context;
            image.onload = function() {
               imgwidth = image.width * scale;
               imgheight = image.height * scale;
               if (imgwidth > X) {
                  x = X - imgwidth;
               }
               if (imgwidth > X) {
                  RemoveX = imgwidth;
               } else {
                  RemoveX = X;
               }
               if (imgheight > Y) {
                  RemoveY = imgheight;
               } else {
                  RemoveY = Y;
               }
               var canvas = document.getElementById('context')
               context = canvas.getContext('2d');
               return setInterval(draw, velocity);
            }

            function draw() {
               context.clearRect(0, 0, RemoveX, RemoveY);
               if (imgwidth <= X) {
                  if (x > X) {
                     x = -imgwidth + x;
                  }
                  if (x > 0) {
                     context.drawImage(image, -imgwidth + x, y, imgwidth, imgheight);
                  }
                  if (x - imgwidth > 0) {
                     context.drawImage(image, -imgwidth * 2 + x, y, imgwidth, imgheight);
                  }
               } else {
                  if (x > (X)) {
                     x = X - imgwidth;
                  }
                  if (x > (X - imgwidth)) {
                     context.drawImage(image, x - imgwidth + 1, y, imgwidth, imgheight);
                  }
               }
               context.drawImage(image, x, y, imgwidth, imgheight);
               x += disx;
            }
         }
      </script>
   </body>
</html>
输出
代码返回循环输出,如下所示