- BabylonJS 教程
- BabylonJS - 主页
- BabylonJS - 简介
- BabylonJS - 环境设置
- BabylonJS - 概述
- BabylonJS - 基本元素
- BabylonJS - 材料
- BabylonJS - 动画
- BabylonJS - 相机
- BabylonJS - 灯
- BabylonJS - 参数化形状
- BabylonJS - 网格
- 矢量位置和旋转
- BabylonJS - 贴花
- BabylonJS - Curve3
- BabylonJS - 动态纹理
- BabylonJS - 视差映射
- BabylonJS - 镜头光晕
- BabylonJS - 创建屏幕截图
- BabylonJS - 反射探针
- 标准渲染管线
- BabylonJS - 着色器材质
- BabylonJS - 骨骼和骨骼
- BabylonJS - 物理引擎
- BabylonJS - 播放声音和音乐
- BabylonJS 有用资源
- BabylonJS - 快速指南
- BabylonJS - 有用的资源
- BabylonJS - 讨论
BabylonJS - 视差映射
视差映射也称为偏移映射。它使用高度图作为材质纹理上的偏移,以强调几何体表面的浮雕效果。在 3D 世界中,应用了深度的石墙将具有更明显的外观,并且对最终用户来说看起来更逼真。在较陡的视角下,纹理坐标的位移更大,随着视图的变化,视差效应会产生深度错觉。
视差贴图与标准材质一起使用。我们在标准材料章节中了解了这一点。
视差贴图具有 3 个属性。
材质.useParallax = true; − 这将启用视差映射。要使用此属性,您需要首先将凹凸纹理指定给材质。
材质.useParallaxOcclusion = true; − 要使用此属性,您必须将 useParallax 设置为 true。它启用视差遮挡。
材质.parallaxScaleBias = 0.1; - 对网格的深度应用缩放因子。0.05 到 0.1 之间的值对于视差来说是合适的。对于遮挡,可以达到0.2。
演示
<!doctype html>
<html>
   <head>
      <meta charset = "utf-8">
      <title>BabylonJs - Basic Element-Creating Scene</title>
      <script src = "babylon.js"></script>
      <style>
         canvas {width: 100%; height: 100%;}
      </style>
   </head>

   <body>
      <canvas id = "renderCanvas"></canvas>
      <script type = "text/javascript">
         var canvas = document.getElementById("renderCanvas");
         var engine = new BABYLON.Engine(canvas, true);

         var createScene  = function() {
            // This creates a basic Babylon Scene object (non-mesh)
            var scene = new BABYLON.Scene(engine);

            // This creates and positions a free camera (non-mesh)
            var camera = new BABYLON.ArcRotateCamera("camera1", 0, Math.PI / 2, 100, new BABYLON.Vector3(0, 0, 0), scene);
            camera.attachControl(canvas, false);

            // This targets the camera to scene origin
            camera.setTarget(BABYLON.Vector3.Zero());

            // This creates a light, aiming 0,1,0 - to the sky (non-mesh)
            var light = new BABYLON.HemisphericLight("light1", new BABYLON.Vector3(0, 1, 0), scene);

            // Default intensity is 1. Let's dim the light a small amount
            light.intensity = 0.7;

            var mesh = BABYLON.Mesh.CreateBox("box01", 25, scene);
            mesh.position = new BABYLON.Vector3(0, 0, 0);

            var brickWallDiffURL = "images/a1.png";
            var brickWallNHURL = "images/a2.png";
            var stoneDiffURL = "images/pebble.jpg";
            var stoneNHURL = "images/a3.png";

            var stoneDiffuseTexture = new BABYLON.Texture(stoneDiffURL, scene);

            var stoneNormalsHeightTexture = new BABYLON.Texture(stoneNHURL, scene);

            var wallDiffuseTexture = new BABYLON.Texture(brickWallDiffURL, scene);

            var wallNormalsHeightTexture = new BABYLON.Texture(brickWallNHURL, scene);

            var normalsHeightTexture = stoneNormalsHeightTexture;

            var material = new BABYLON.StandardMaterial("mtl01", scene);
            material.diffuseTexture = stoneDiffuseTexture;
            material.bumpTexture = stoneNormalsHeightTexture;

            material.useParallax = true;
            material.useParallaxOcclusion = true;
            material.parallaxScaleBias = 0.1;
            material.specularPower = 1000.0;
            material.specularColor = new BABYLON.Color3(0.5, 0.5, 0.5);
            mesh.material = material;
            return scene;
         };
         var scene = createScene();
         engine.runRenderLoop(function() {
            scene.render();
         });
      </script>
   </body>
</html>
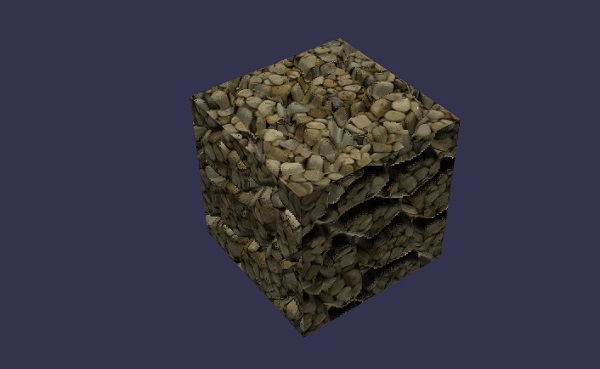
输出
上面的代码行将生成以下输出 -
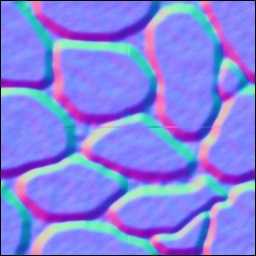
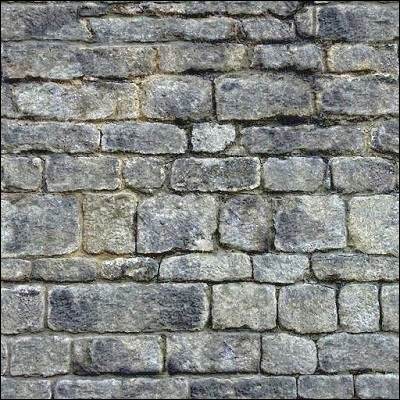
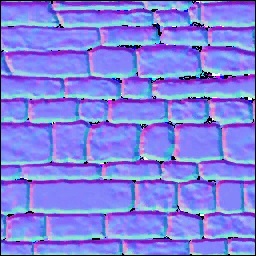
在此演示中,我们使用了图像a1.png、a2.png、pebble.jpg和a3.png。图片存储在本地的images/文件夹中,也粘贴在下面以供参考。您可以下载您选择的任何图像并在演示链接中使用。
图片/a1.png
图片/a2.png
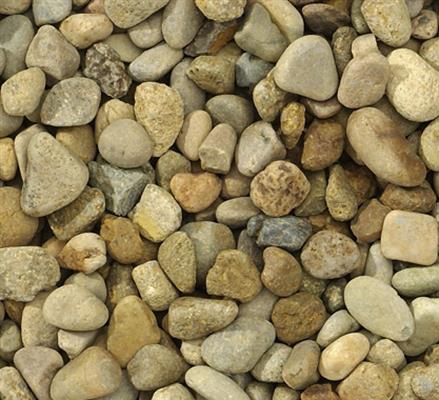
图片/pebble.jpg
图片/a3.png